Websites
Portfolio Website Visit
A place for showcasing
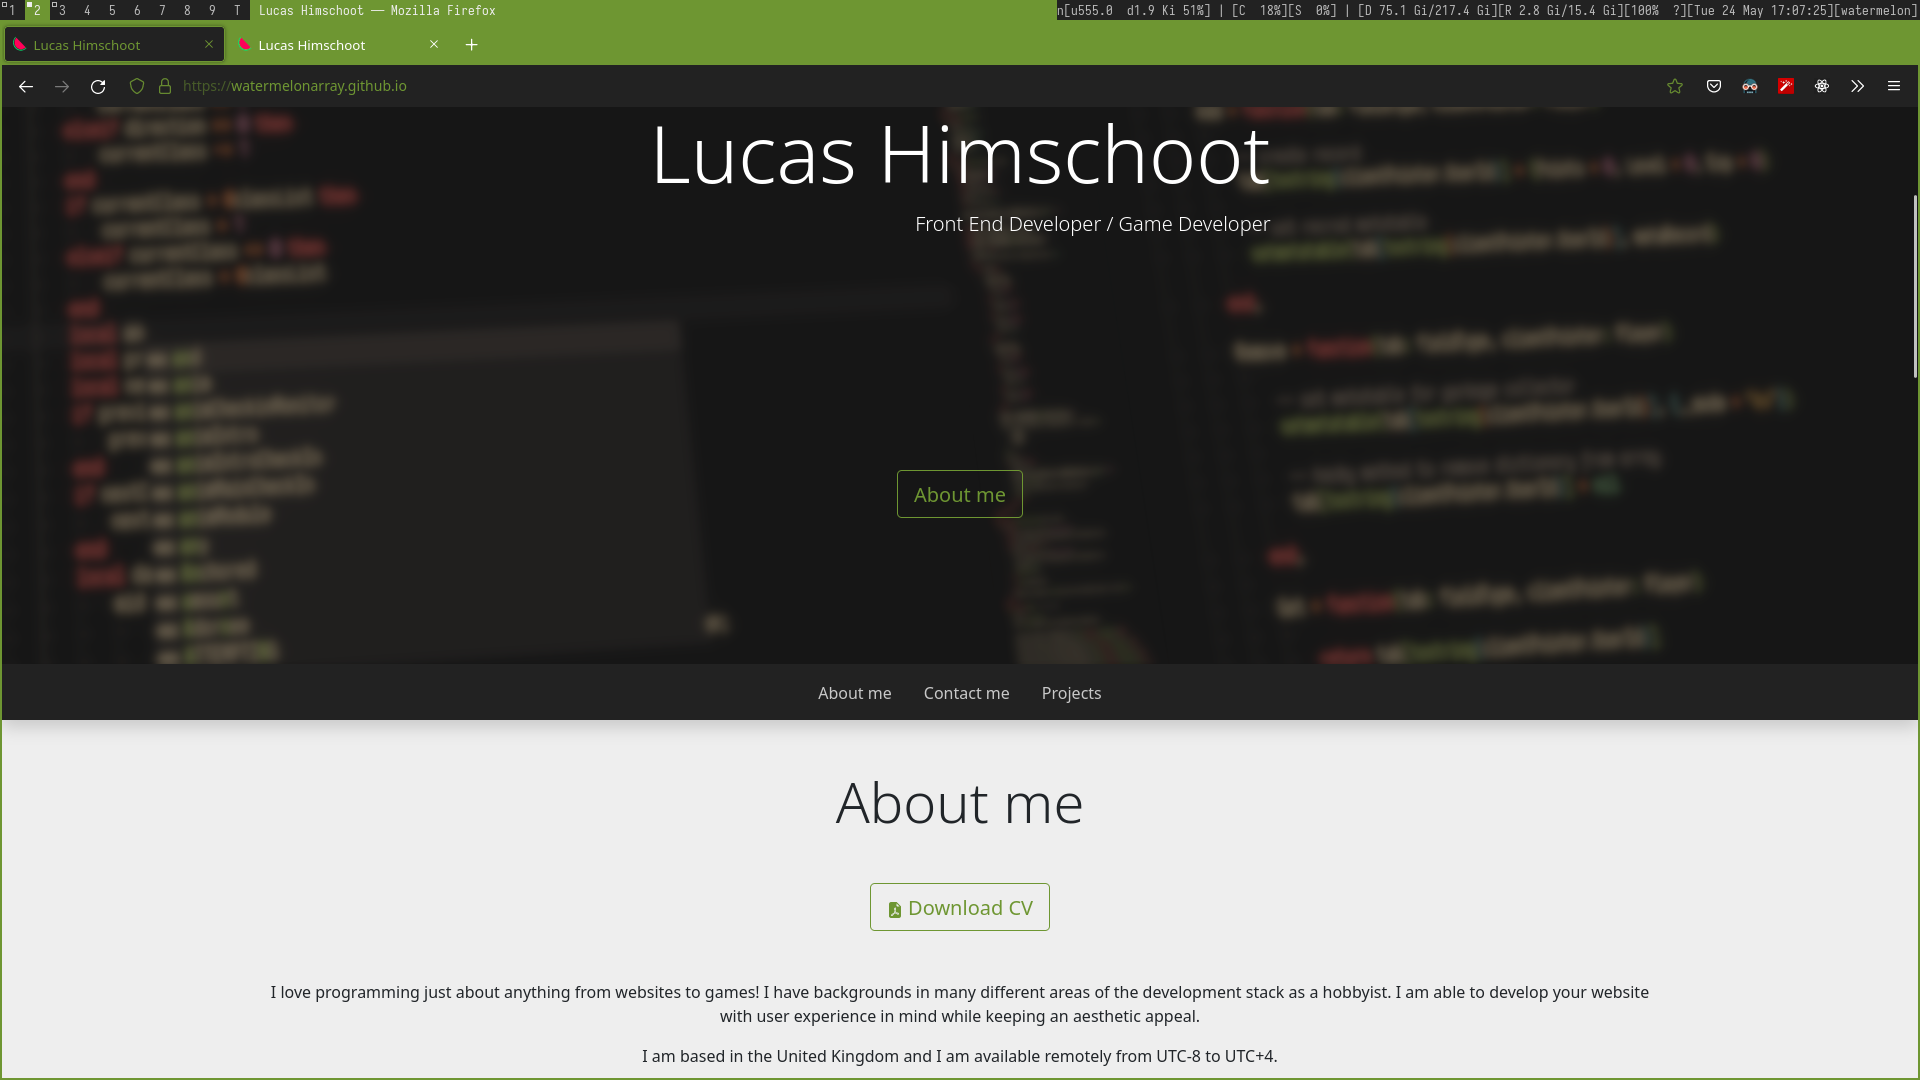
As someone with passion in tech, I needed somewhere to post my projects to showcase to people what I do. A portfolio website is a good place for this kind of approach. What better way to showcase your programming knowledge than to start from scratch! There are benefits than using popular website builders out there like Wix, not only will this teach me new skills, but will also be much cheaper with github pages as a hosting platform for my website.
This portfolio website (which you are currently viewing) has been made entirely by myself from scratch using Bootstrap 5 and custom JavaScript. It highlights some of my work with images, links to my contact pages and a short introduction to who I am. In addition to this, there is a button below wthat takes users to another page to see all my prevous work in the past. Below is an image of what the front page currently looks like.
Project list
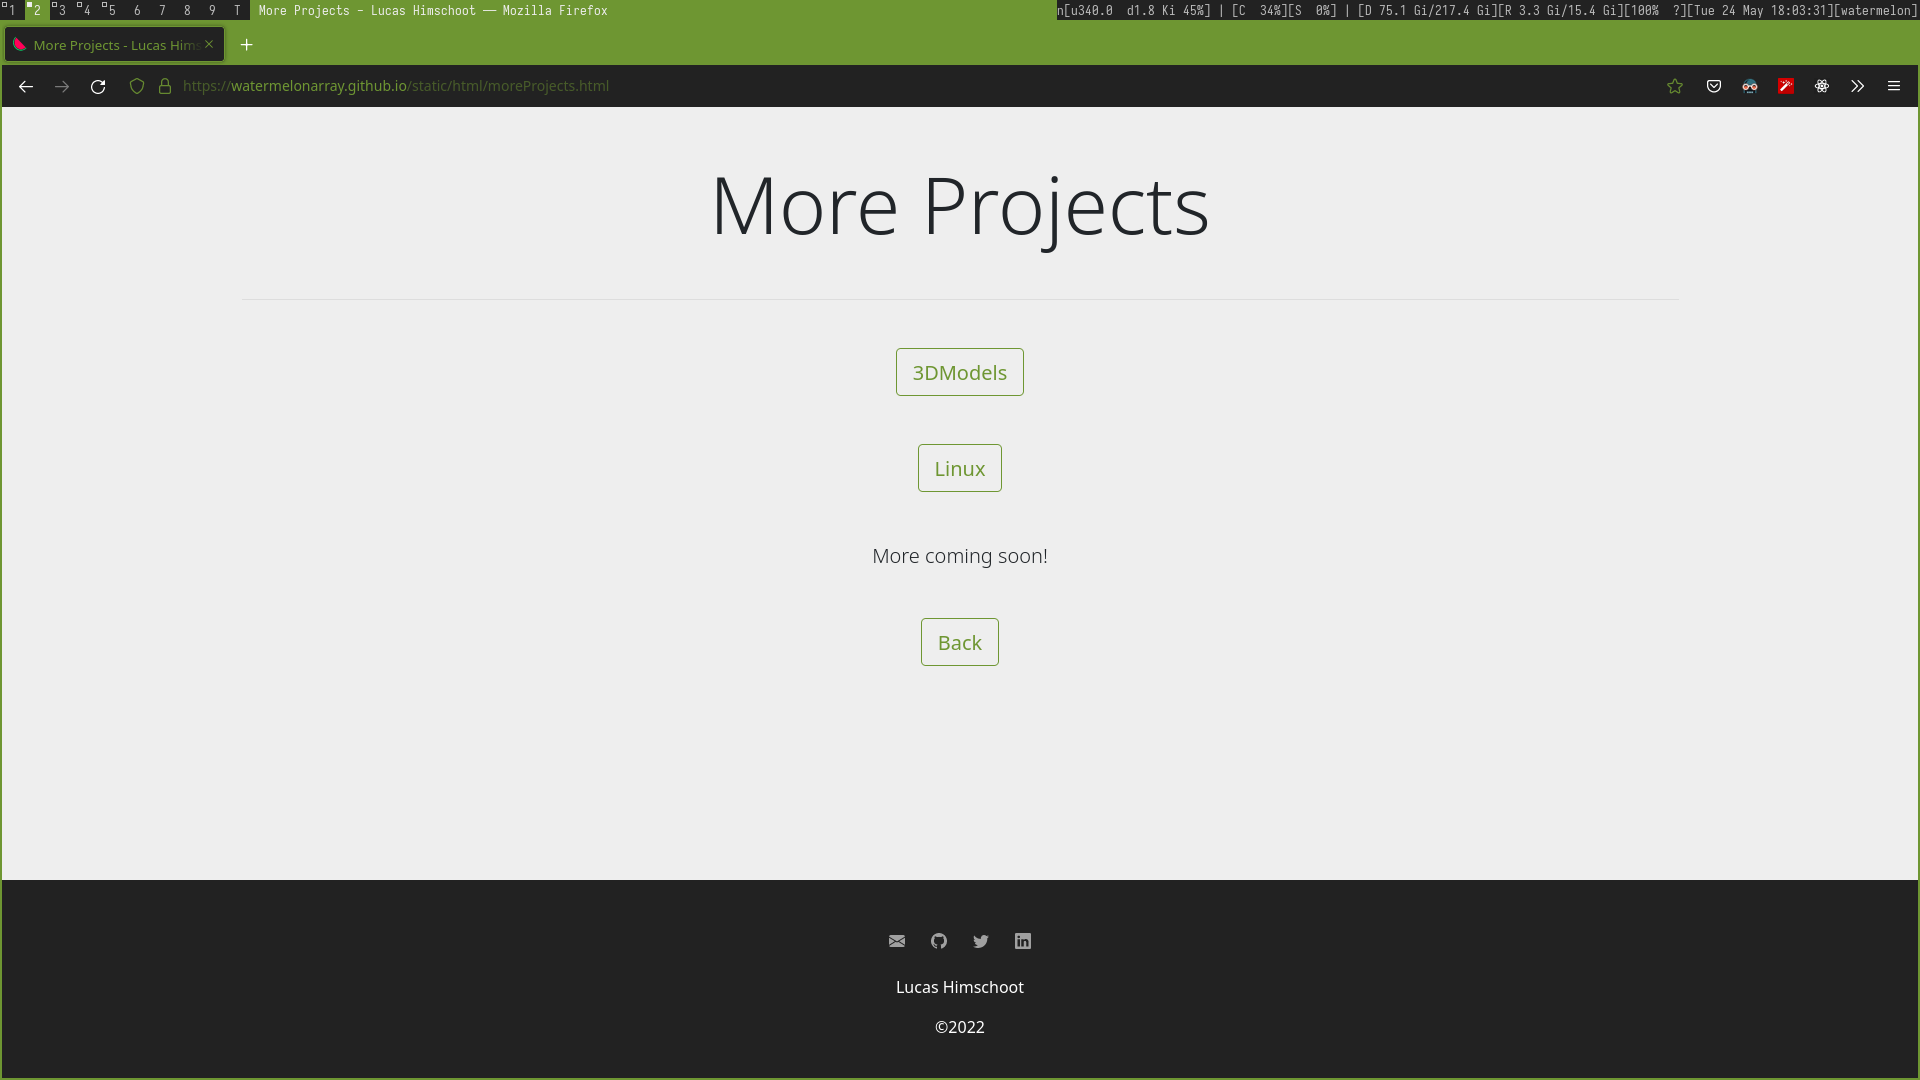
Scrolling down the main front page will have a button that takes you to a very minimal page. This page allows me to expand my showcase in different sections with buttons and a handy button to go back to the main page. Not much can be said currently about this page other than it serves to seperate large amount of detail in smaller pages to make it easier to read and view my work. I can add and remove pages if need be.
Details of projects
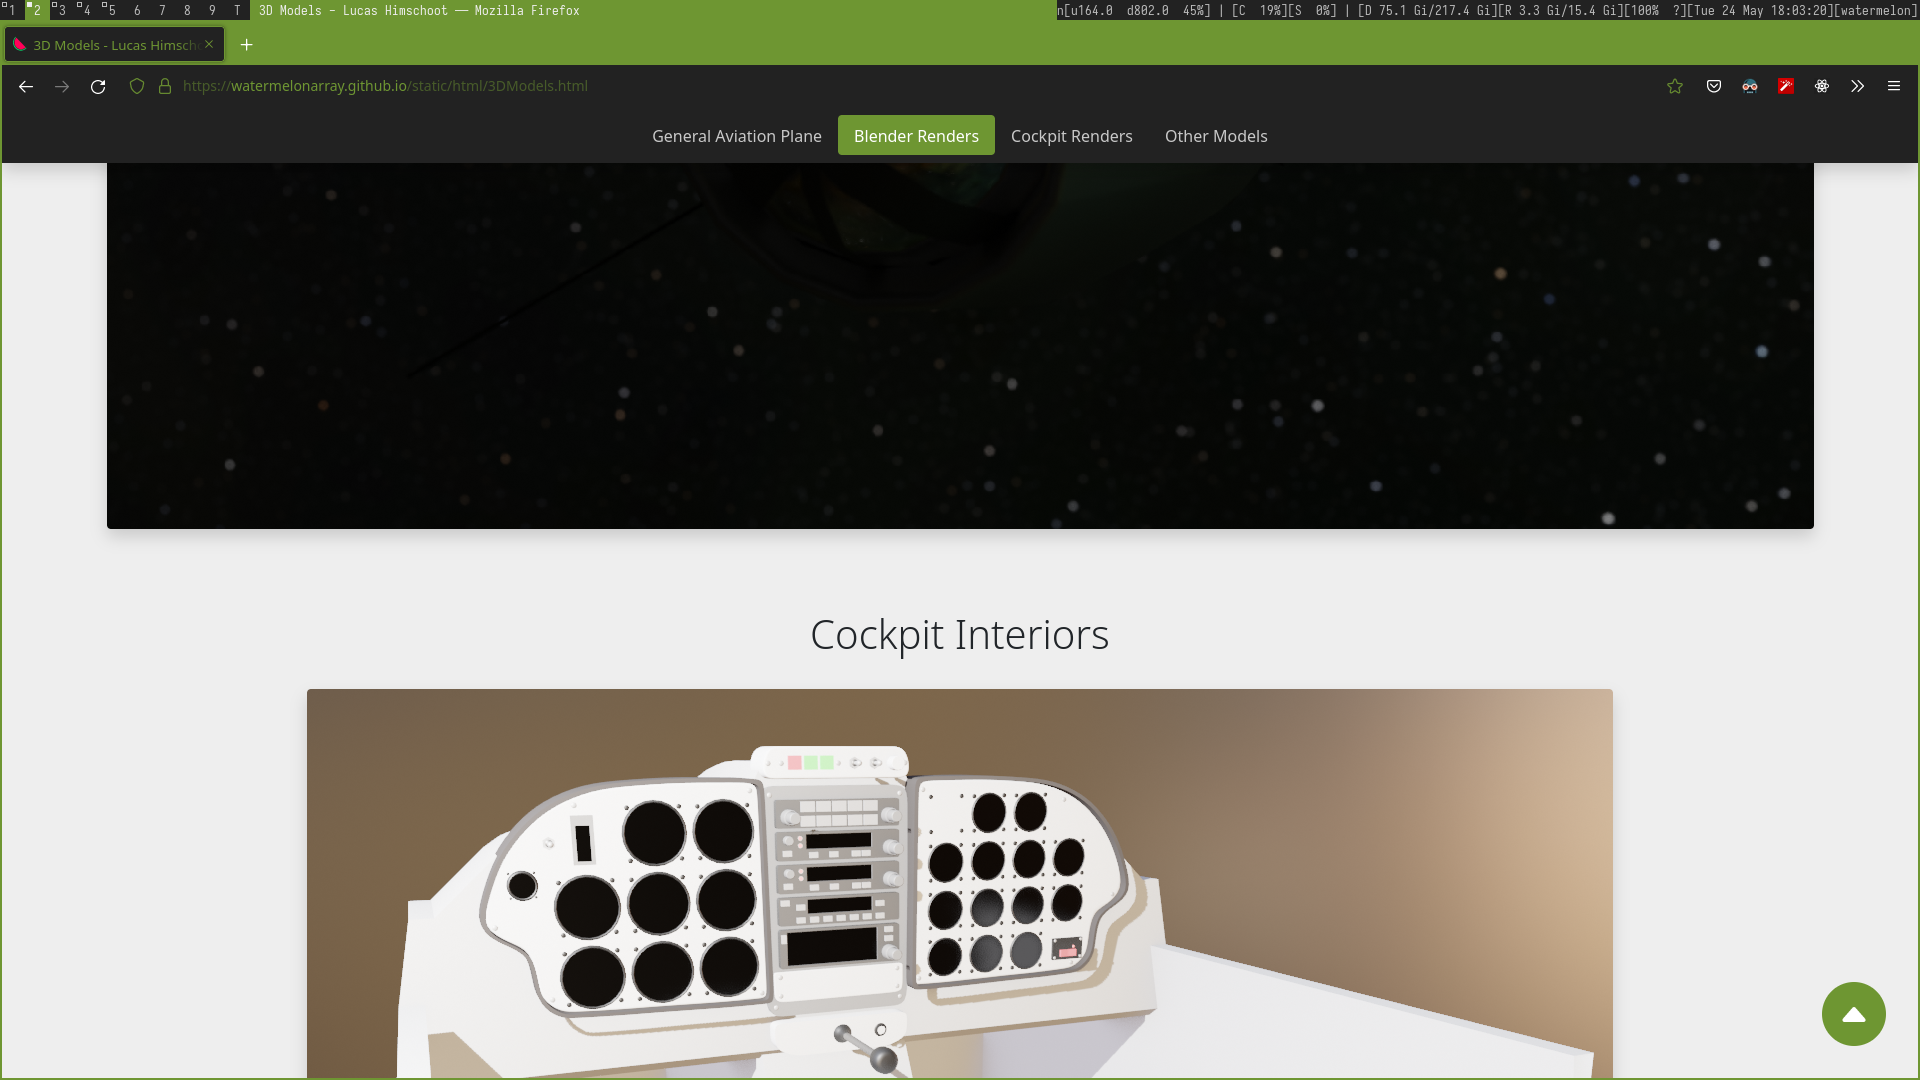
Selecting a project to view will show all the details of my projects in this category. Not only is detail important, but ease of use is also something that was considered. A navivgation bar helps the user navigate the different sections as well as including a scroll to top button for mobile users as well. The scroll to top button was programmed from scratch using JavaScript.
Not only is ease of use important, but the detail that explains what is being read is important. Using a feature in HTML5, I can adopt tooltip like features to help users understand the abbreviations and context for said project. Across all project pages, tooltips can be shown with an underline style and can hover over said elements like this one. I can customize each page to my likeing with ease, so if I do not require a project to be uniformly consistant, I can simply modify the page I wish.
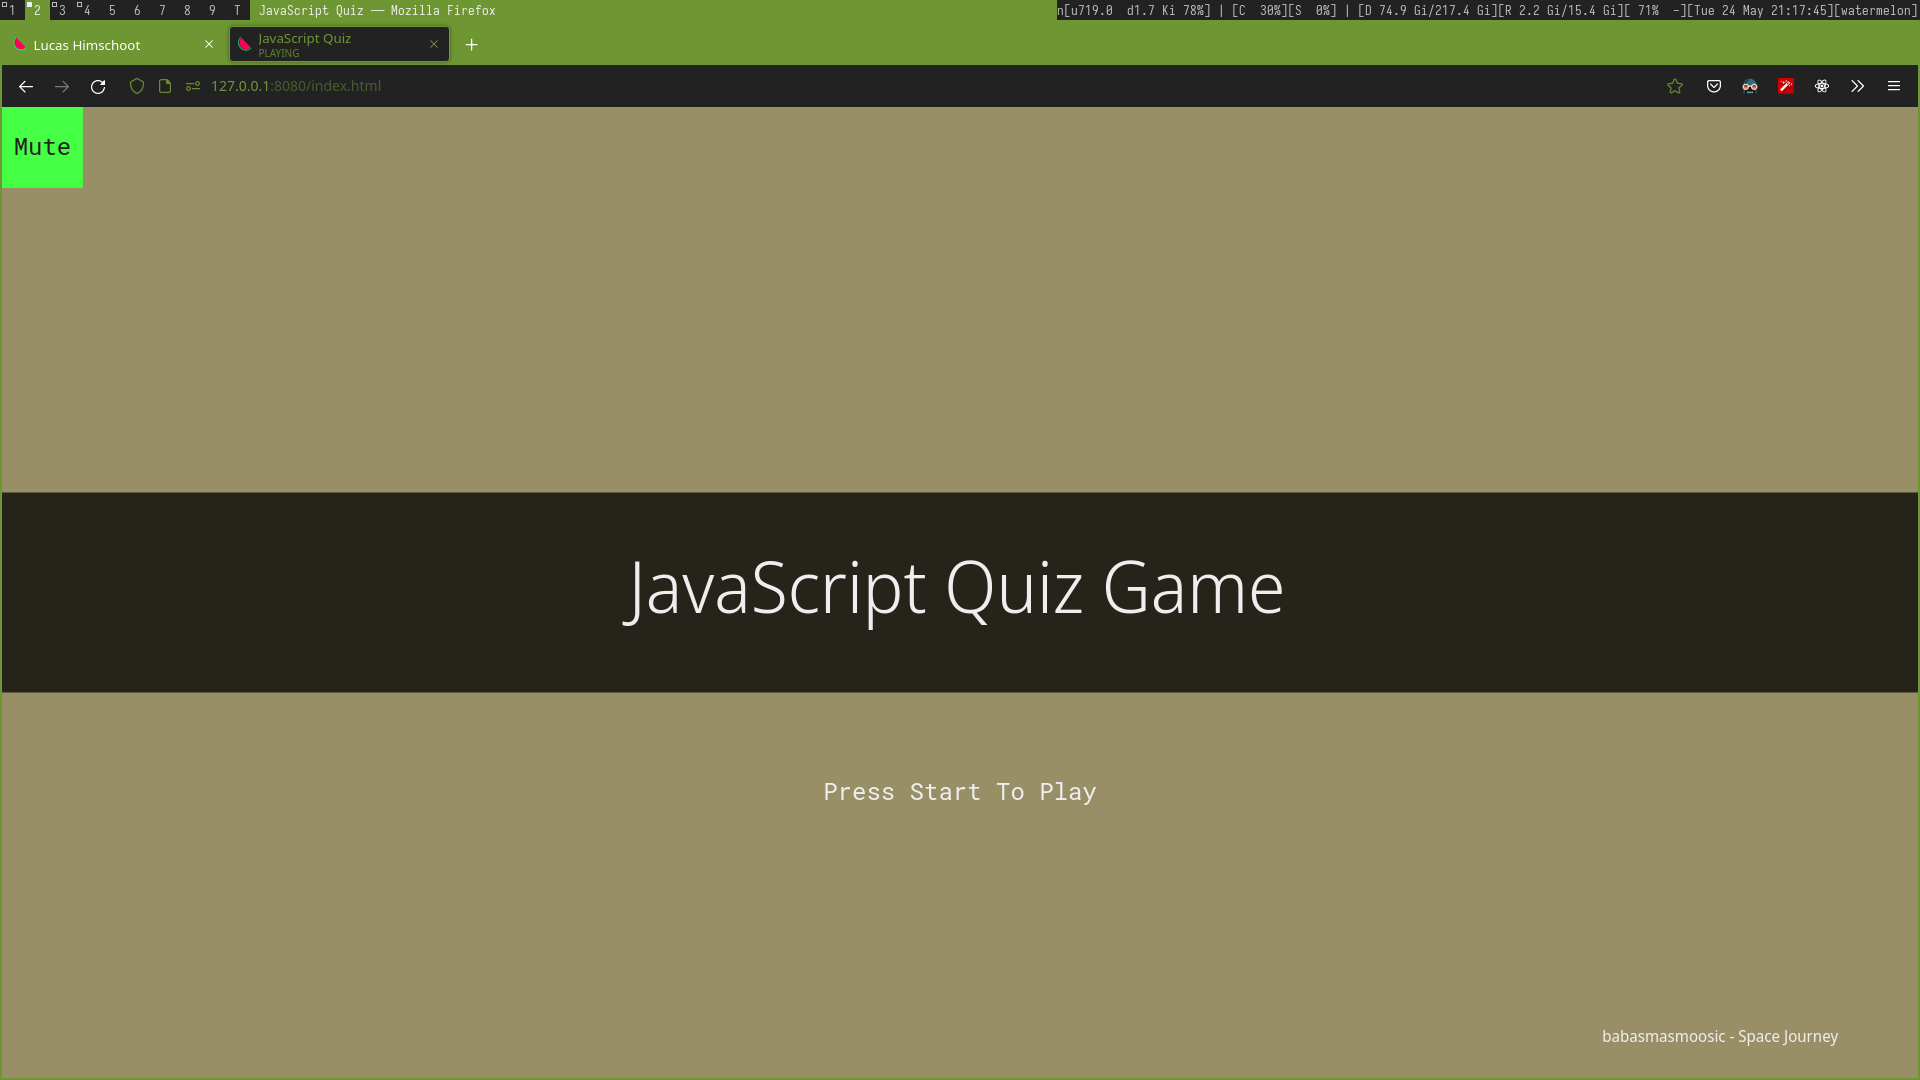
JavaScript Quiz Game Visit
A JavaScript quiz game engine
I like making games, why not make one entirely on the web with JS? Luckily, having dabbled with various game engines I do have basic knowledge in how a game engine should work.
This is one of my more challenging projects so far, having to create not only an entire game from scratch, but one that requires a system in place to allow custom questions and answers to be used by users.
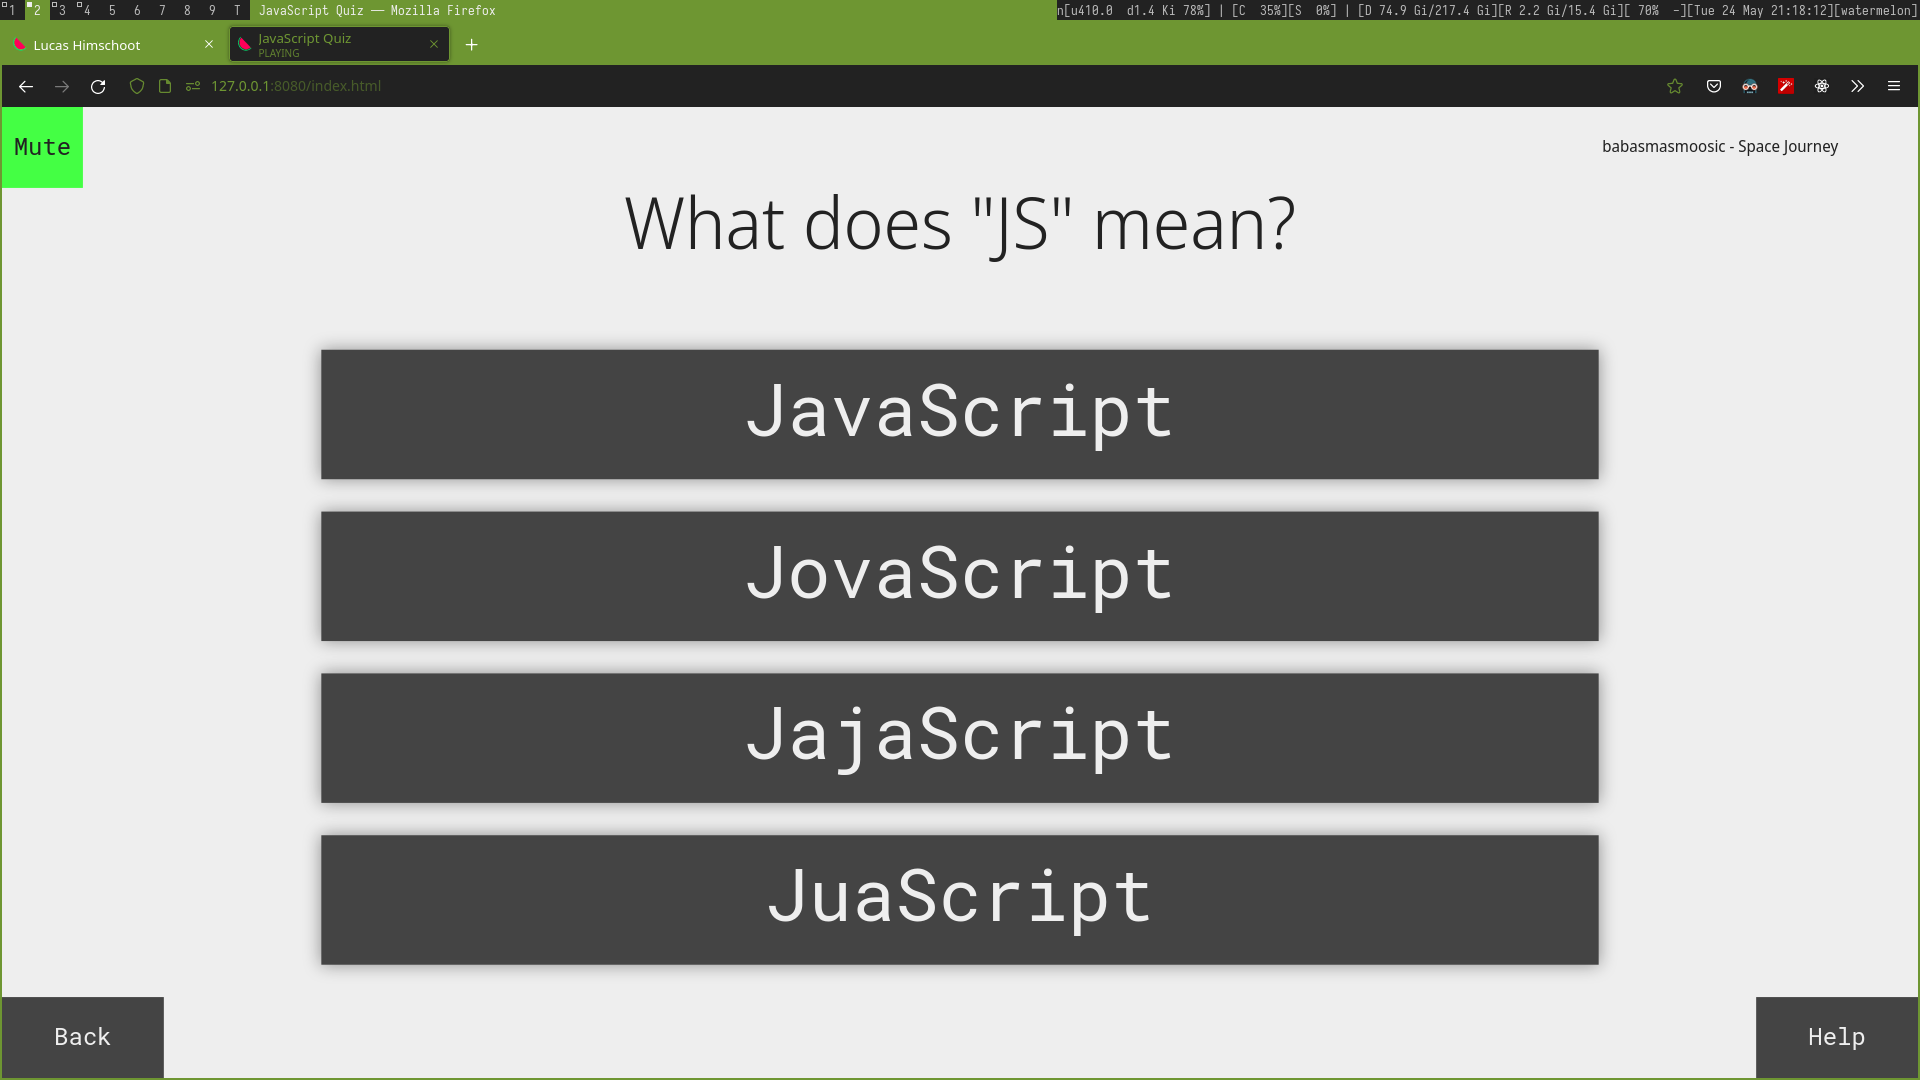
Let's make the renderer
Unlike normal HTML, I decided to make a game that was only required by the browser compatability - more specific, without any third-party extentions such as flash. Luckily, there is an element that allows you to draw primitive shapes on the browser called the "canvas". Using the canvas, I can setup a system that allows the objects on screen to be rendered frame by frame. This is not the most efficient way to render elements on screen but this allows more flexibility in how you wish your content to be viewed on screen; providing you are willing to spend much more time in doing so.
My custom quiz engine has features such as animation tweening, input handling and custom responsive behavior system for mobile users. It's code base similarly resembles React's workflow in that you are able to create "components" that you can pass through to the system to render on screen.
Registering Input
While I am able to render the entire game with my engine, there is also the input layer that much be implemented. To do this, it uses a basic hitbox detection system everytime you click on the screen. It takes the position of the mouse and does some calculation to what is rendered on screen. If the mouse coordinates are over a designated button, it fires the corresponding callback functions to make the game change it's state.
The callback functions are customizable to implement any change required to the game or to render new content on screen. This is my own way to implement event to execute code to the game.

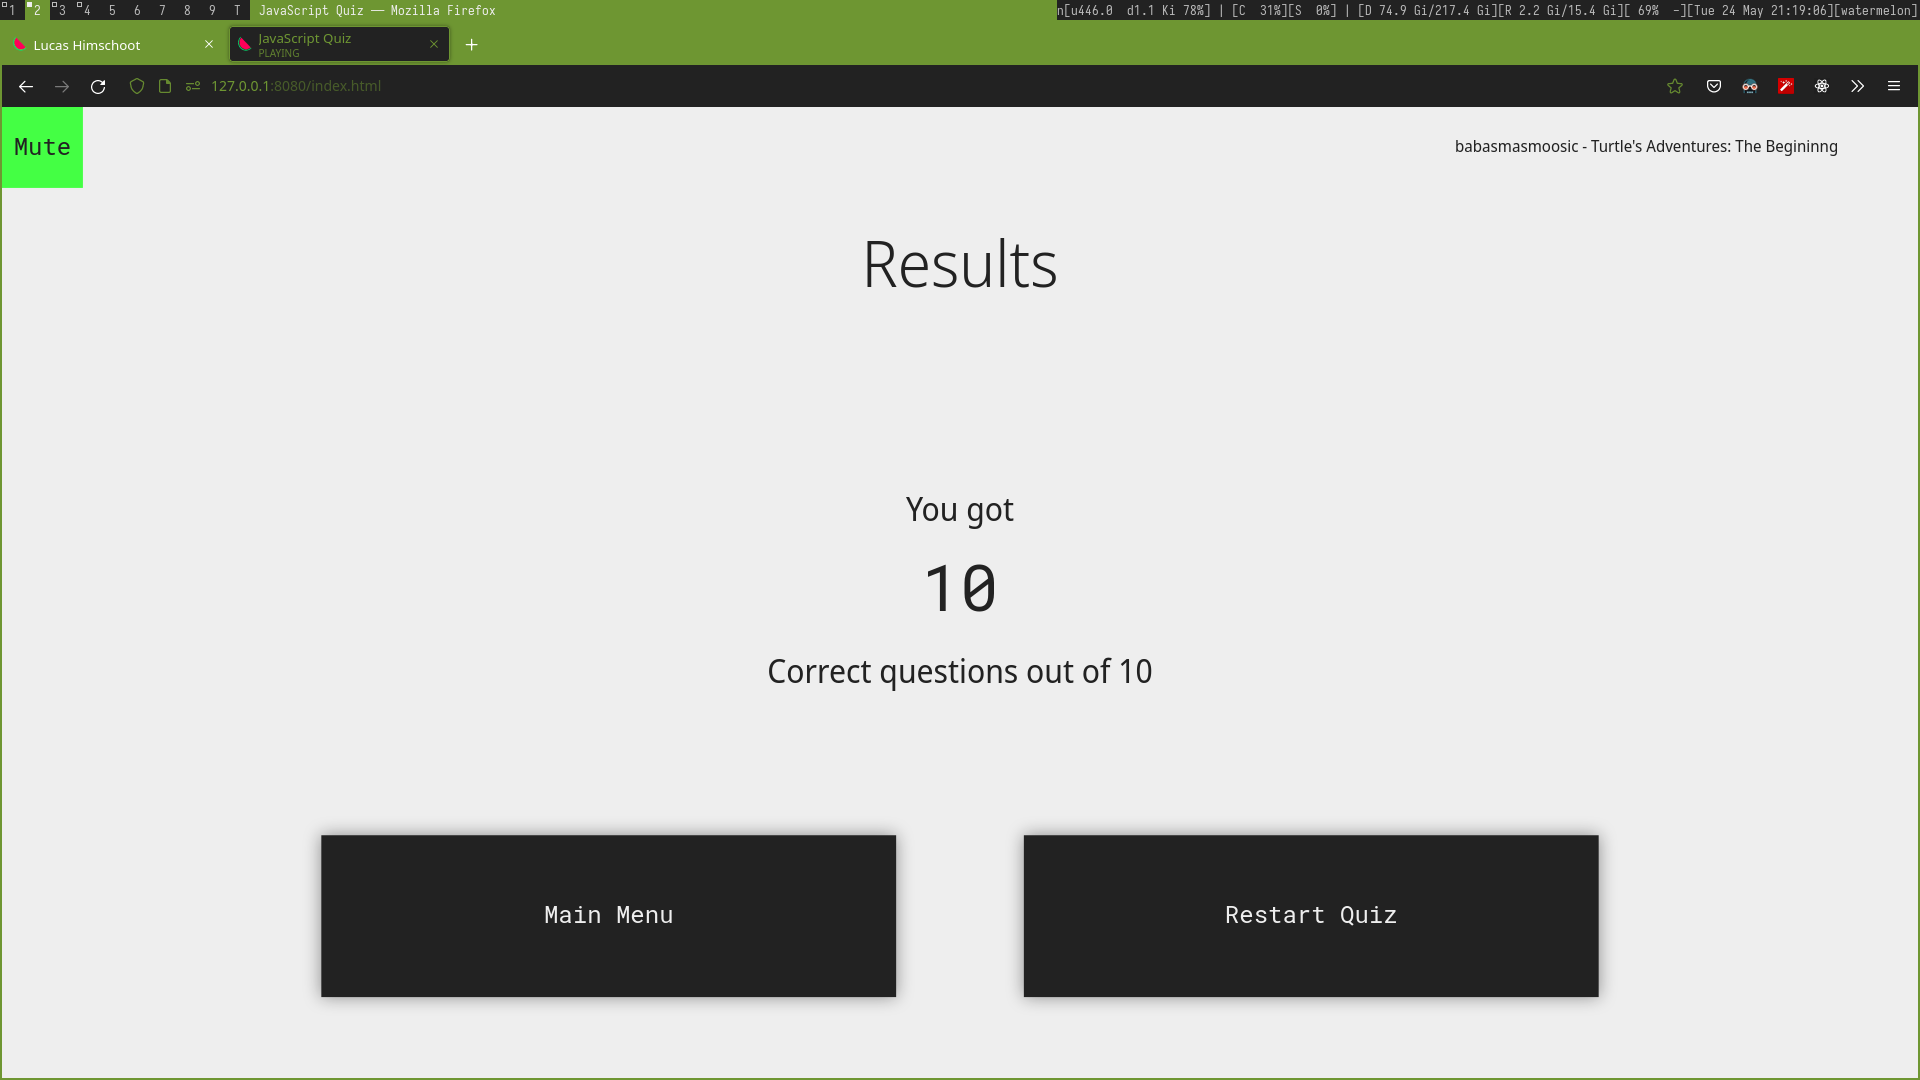
Handling data
Along with the basic systems to interact with my game engine, there also needs to be a way to store user data such as the amount of correct answers the user has completed within the quiz. This data however is only temporary and includes functions to reset the counter when the quiz starts again. This is important to show users their progress.
Not only is there quiz data that needs to be handled, but loading and saving the quiz from the editor. This system also handles JSON data to base64 (and the other way around). This is because I wanted to implement a saving system for custom quizes as one of my features for this game. This will be further touched upon in the editor section of this project.
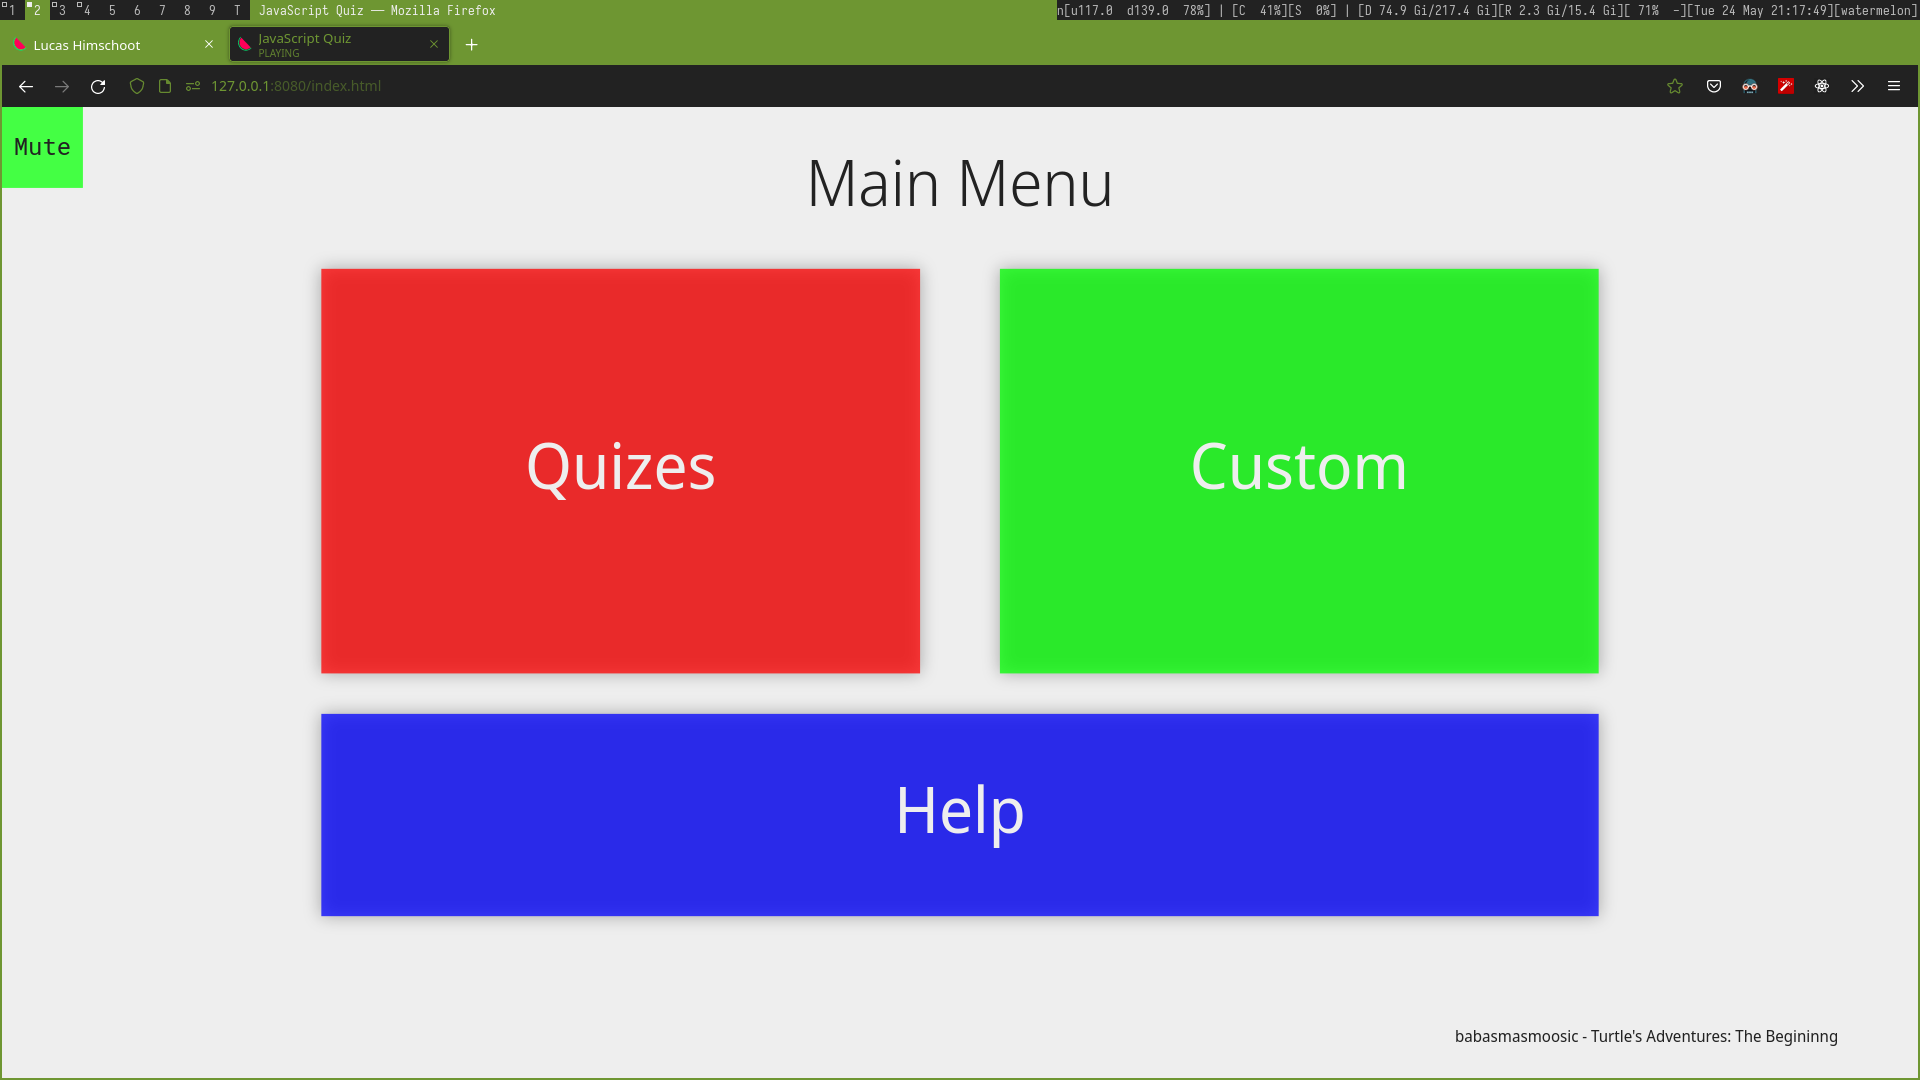
Navigating around the game
After all the main components of the game is complete, a need to navigate around the game will be needed, as well as a system to load specific pages on the cancas. I start with a basic menu to allow navigation through the different pages. This is where the renderer system that renders frame by frame is useful. Using "linear interpolation", I am able to create transition between each page for a more polished finish.
Once the menu is in place, the user can finally move to the default quiz and the menu using the input handler I created for buttons with ease. To add to this, I also started making a custom responsive design for the game. Because we are not using libraries such as Bootstrap, making the game responsive on mobile devices would require my own implementation. In this case I opted for a system that would detect if the renderer had values similar to portait mode (width < height).
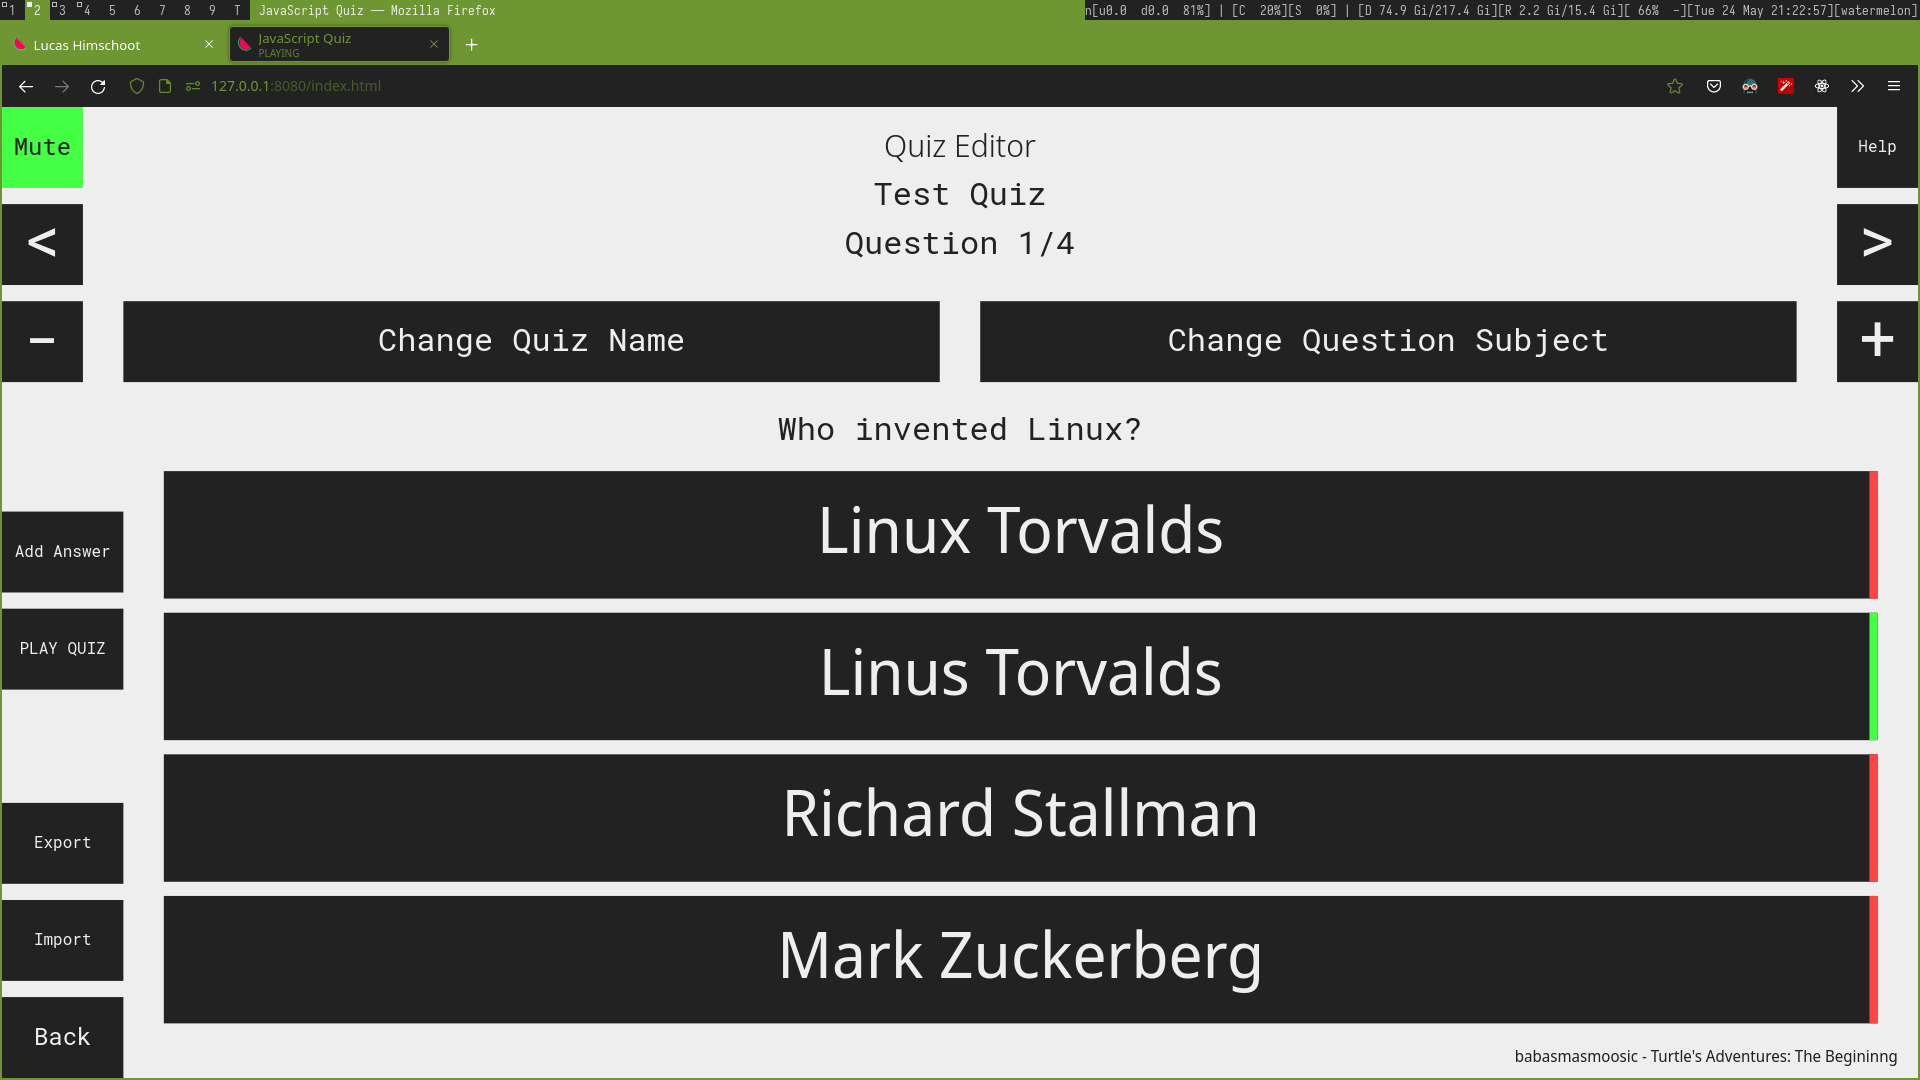
Making your own quizes!
Perhaps one of the more complicated systems to implement, equally as complicated as the rendering system in the quiz engine. Firstly had to design the UI to fit all the elements required for displaying the quizs's contect such as question name, quiz title and the answers themselves. I also had to include buttons for import and export data for saving and loading custom quizes.
I mainly had to create a system that would essentially hold data similar to the default quiz and then compile all the data when you needed to import, export or play the quiz. The result works well and I had some people test out their own quizes too!
ReactJS E-Commerce Visit
Learning a new library!
Unlike the previous project where I made my own engine, I decided to use an already existing JS library. There are many to choose from ranging from different approaches. For this example, I went for more industry recognized libraries that I would like to learn - ReactJS. For this, I decided to try making a dynamically loaded page based on what product a user has requested - an e-commerce website.
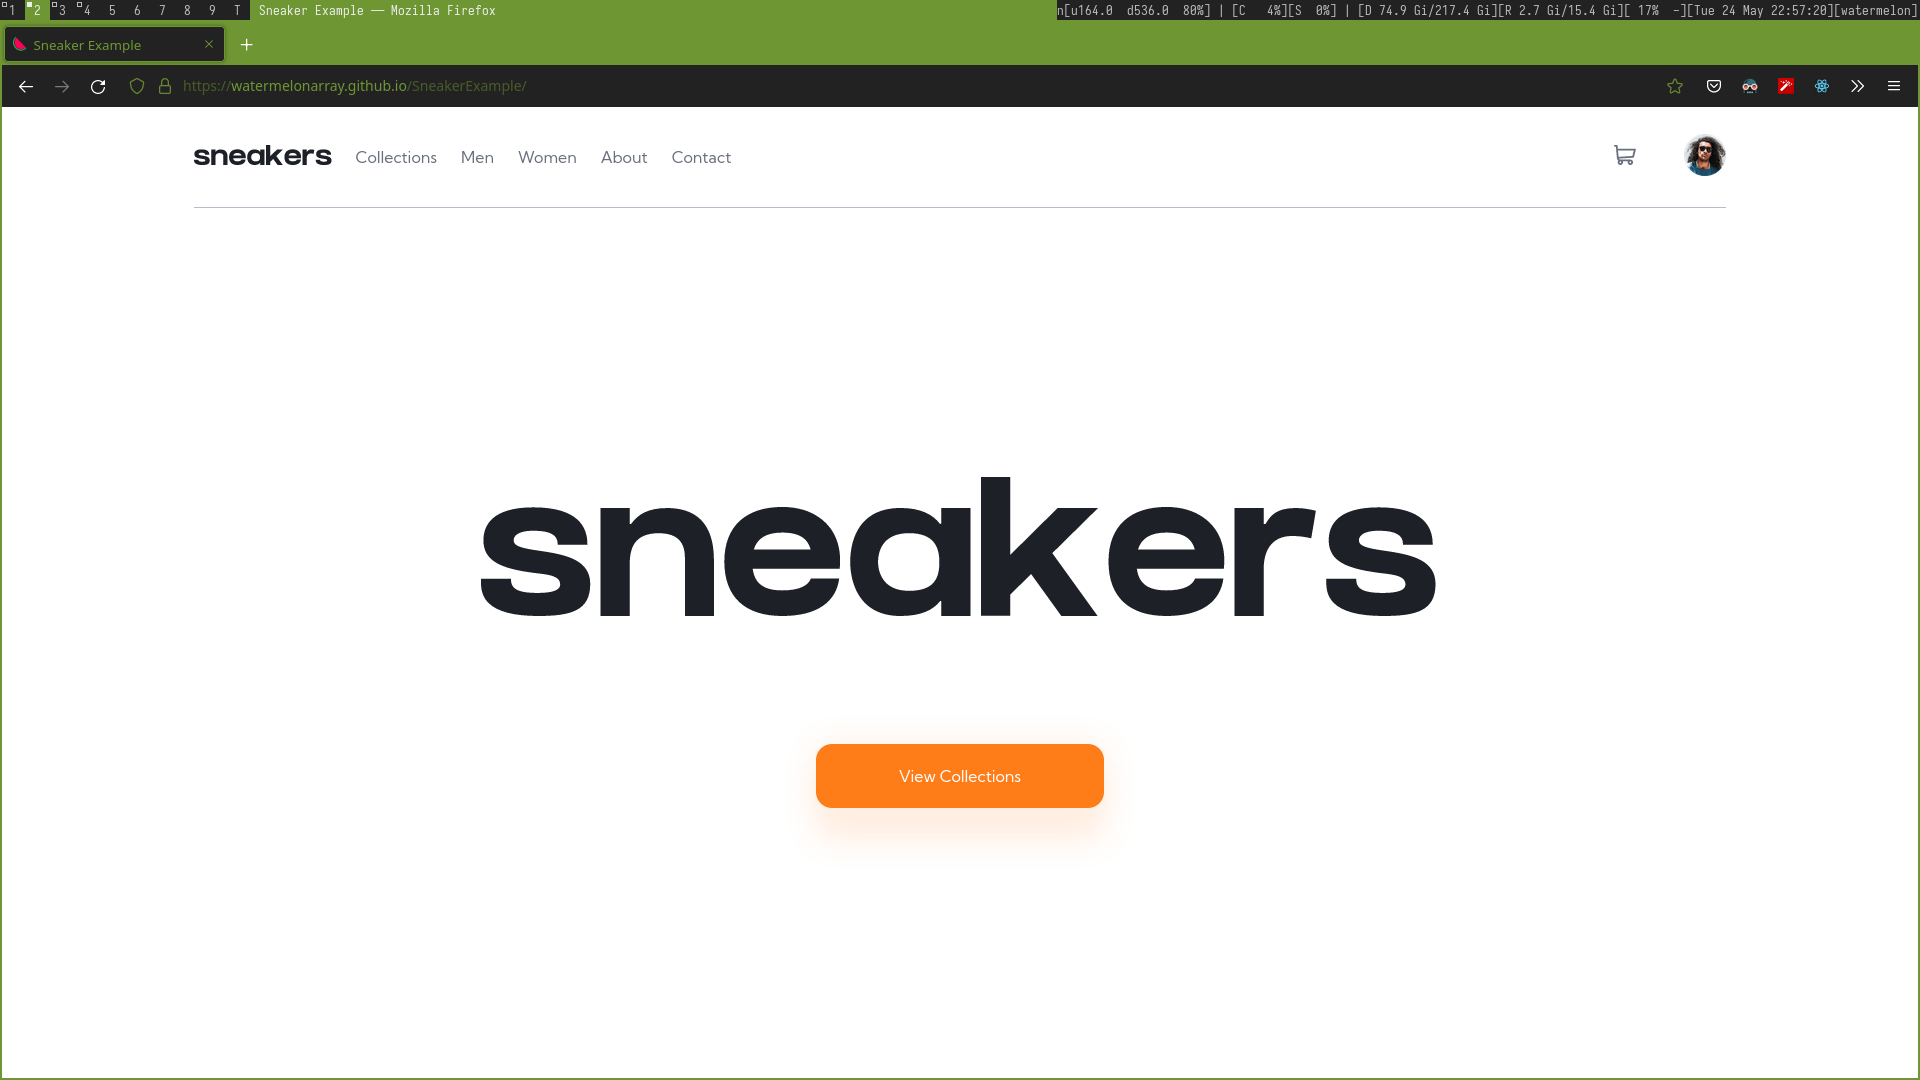
The template page
I wrote the main layout using default HTML and CSS with flexboxes and CSS animations. Afterwards, I started to implement a products file that would load the appropriate content of the product on the template page. This can be modified to suit majority of back end systems as it only loads the item's details through an object.
I also used React Router DOM's features to allow the template page to load as the same page without having duplicated pages for each item. This saves on time and resources to keep things much cleaner in the source code and better readability for both the users and the developers.

Lets add some extra bits
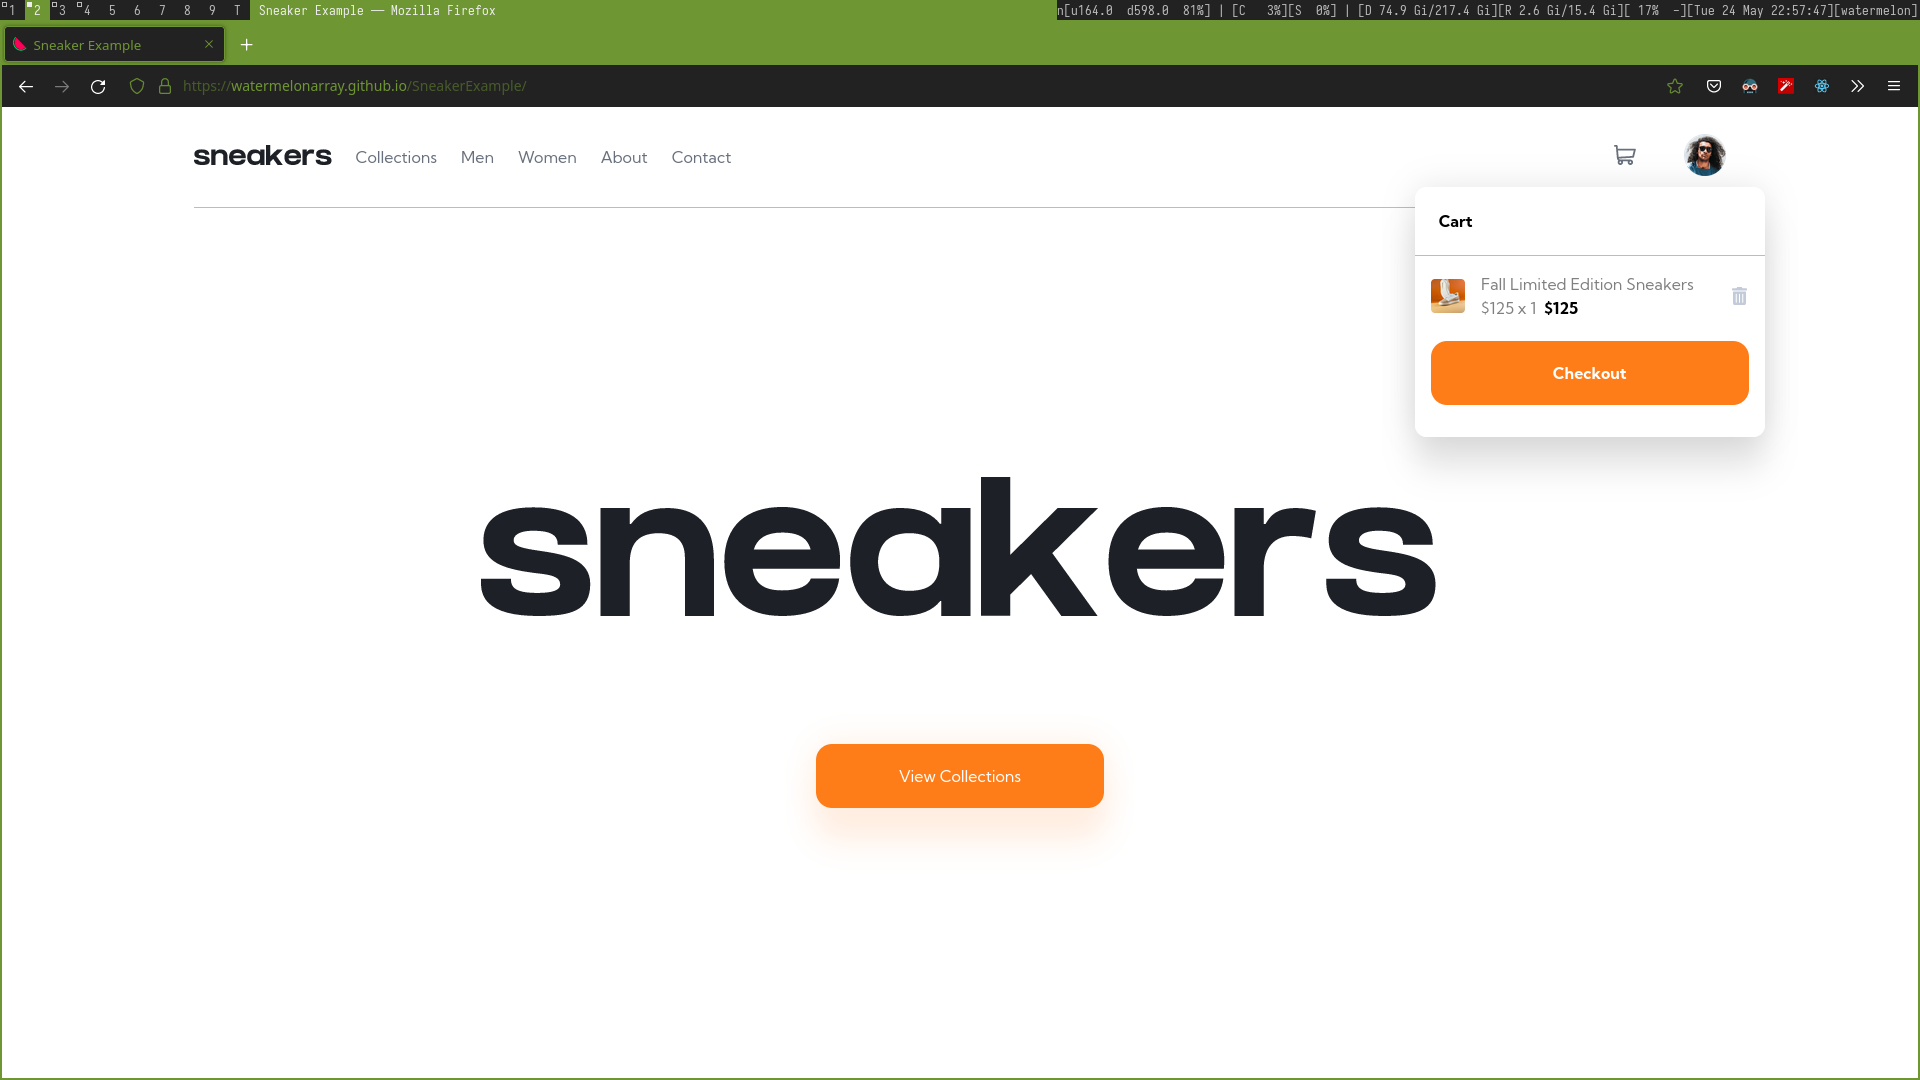
Not only is the products page needed to show information, but I also needed to have overlaying elements to show information of on the user's current status such as what is in the user's cart. Buttons are also needed to interact with the overlay elements such as checking out and removing products from the user's cart. Currently not much is visible in this example as there is no information that is stored in the cart.
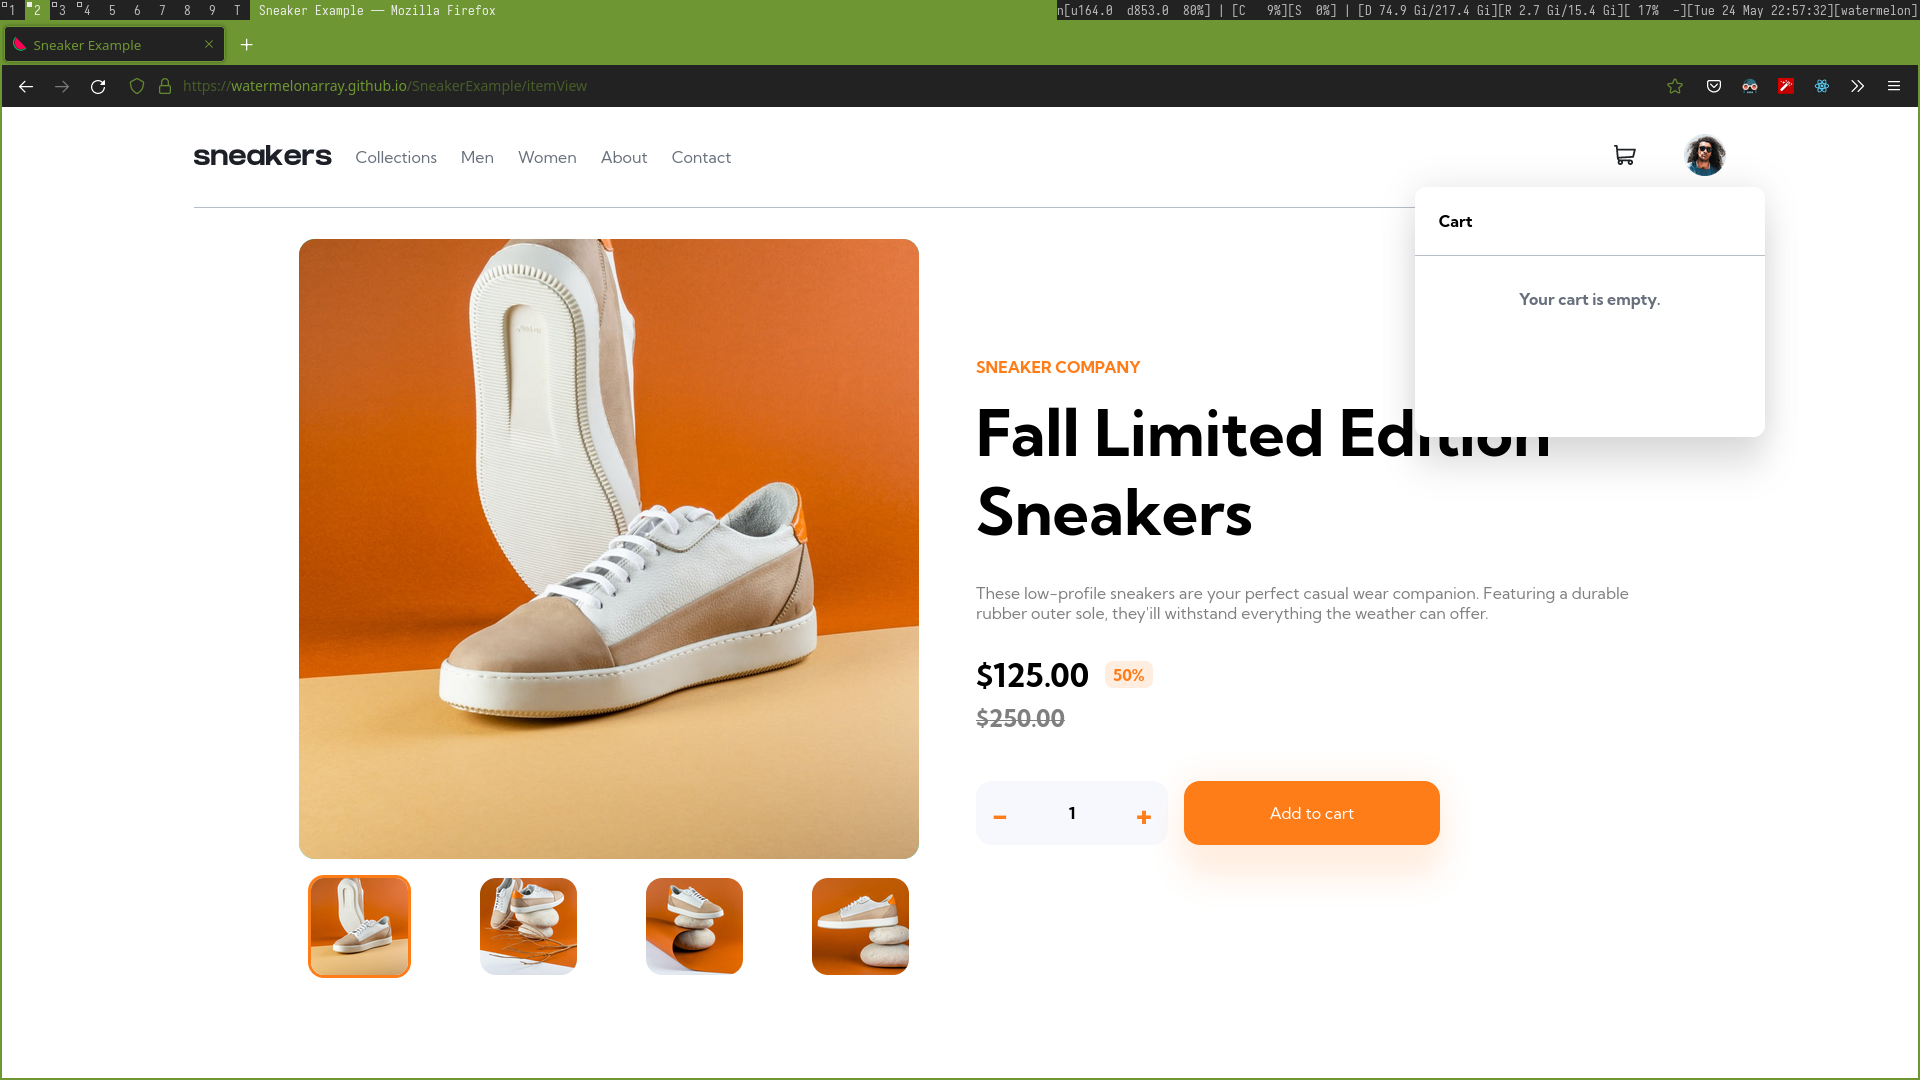
Storing information
As this website doesn't use a server to store information about the products, I use the "localstorage" feature available to some web browsers to store and retreive the contents client sided. The storage is persistent across the entire page no matter if you go to another page or leave the website. This can be adopted for cookies if needed for server based.
This example, I used the localstorage api to store the cart data for the user. This also takes into consideration of how many of the product in question the user wants - creating a total cost for all products in the cart.